The Golden Rules: A Clinic SOP for Preanalytical cfDNA Handling
A missed 10-minute window or a single freeze-thaw cycle can ruin a liquid biopsy. Here is the strict Standard Operating Procedure (SOP) every clinic needs.
The Golden Rules: A Clinic SOP for Preanalytical cfDNA Handling
In veterinary diagnostics, we are accustomed to robust analytes. You can leave a serum tube on the counter for a few hours before running a chemistry panel, and the creatinine value will still be accurate. This is NOT true for cell-free DNA (cfDNA).
cfDNA is a trace analyte. In a healthy dog, the concentration might be as low as 0.5 ng/mL. In contrast, a single white blood cell (WBC) contains vast amounts of genomic DNA. If even a tiny fraction of the WBCs in your blood tube rupture (lyse) after collection, they release "genomic noise" that swamps the biological signal you are trying to measure.
To get a result you can trust, you must follow a strict Standard Operating Procedure (SOP). This guide walks you through every step, from patient preparation to sample shipment.
Why Preanalytical Handling Matters So Much
Before we dive into the protocol, it helps to understand why cfDNA is so demanding. Unlike measuring glucose or electrolytes—which are present in millimolar concentrations—cfDNA is measured in nanograms per milliliter. We are looking for a whisper in a crowded room.
The "crowd" in this case is the genomic DNA inside the millions of white blood cells floating in every blood sample. If even a small percentage of those cells break open after collection, their DNA floods the sample. The tumor signal you were trying to detect gets diluted into irrelevance. This is why every step of handling matters.
1. Patient Preparation: Setting Up for Success
Goal: Collect the cleanest possible sample with minimal interference.
Fasting
Lipemia (milky plasma from high triglycerides) interferes with many fluorometric assays used to measure cfDNA. The light-scattering effect of lipid droplets can cause false readings in both directions.* Recommendation: A 4–6 hour fast is ideal for routine screening.
* Exception: In emergency situations, do not delay critical diagnostics for fasting. Note the fed status on the submission form.
Exercise and Stress
Recent strenuous exercise can transiently elevate cfDNA levels due to muscle micro-trauma and oxidative stress. Similarly, extreme stress (struggling during restraint) can affect results.* Recommendation: If possible, allow working dogs or highly stressed patients to rest for 24 hours before collection.
* Practical Reality: This is not always feasible. Document any unusual circumstances.
2. The Draw: Clean and Quick
Goal: Prevent hemolysis (rupture of red blood cells) and activation of clotting.
Venipuncture Technique
The mechanics of the blood draw directly impact sample quality. Traumatic draws cause immediate cellular damage.* Vein Selection: Use the largest vein accessible (usually jugular in dogs) to ensure smooth, laminar blood flow. Smaller veins require more vacuum pressure, which creates shear forces that tear cells apart.
* Needle Gauge: Use an appropriately sized needle. A 20-22 gauge needle is typically suitable for most dogs. Avoid using needles that are too small for the vein.
* Vacuum Control: If using a syringe, pull back slowly and steadily. Jerky, forceful aspiration creates turbulence that damages cells. If using vacutainer systems, ensure the tube is not "short-filled" as the excessive vacuum ratio can cause hemolysis.
* Avoid Fishing: If you miss the vein, do not redirect the needle repeatedly. This traumatizes tissue and activates clotting factors. Remove and try a fresh site.
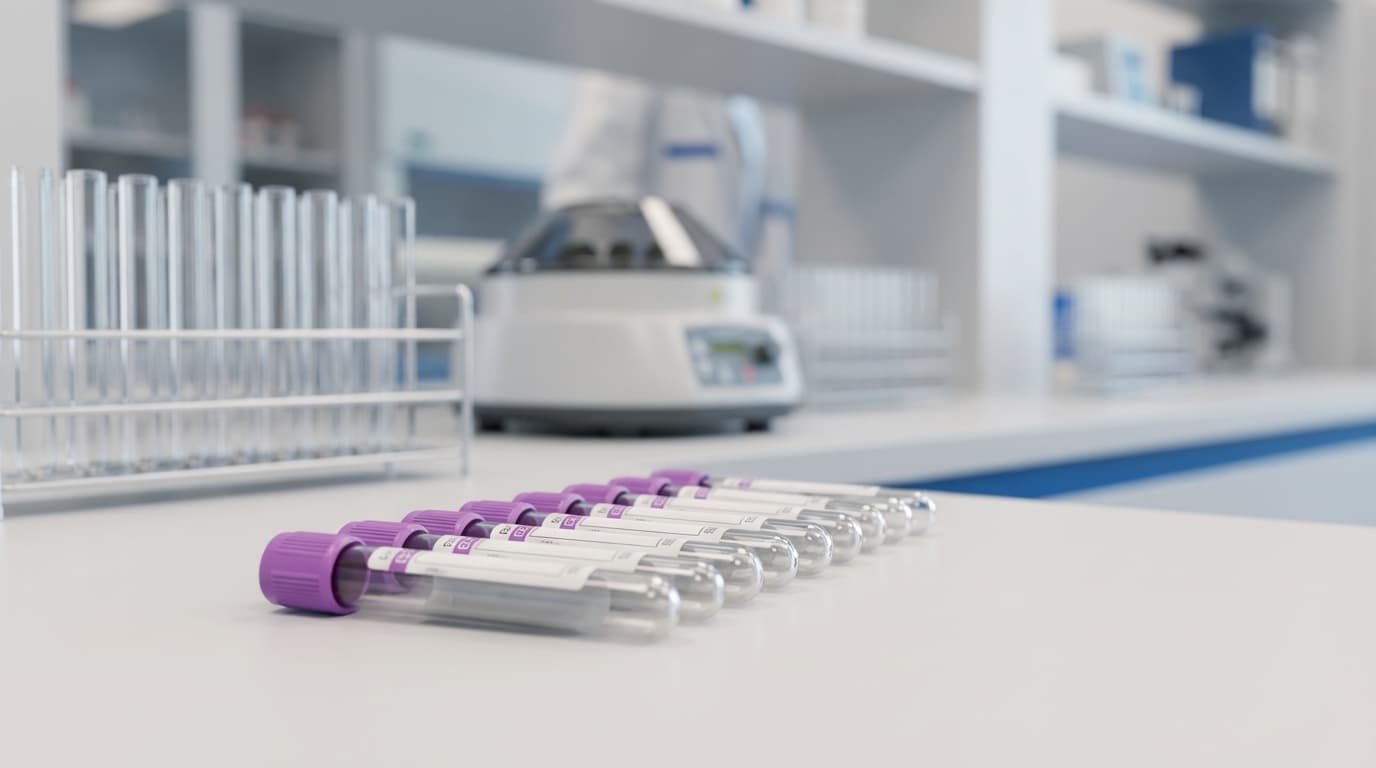
Tube Selection
This is where many clinics make critical errors.* Standard Choice: K3-EDTA (Purple Top). This is the gold standard for in-house processing. EDTA chelates calcium, preventing clotting and slowing DNase activity.
Absolutely Forbidden: Serum tubes (Red/Tiger Top). The clotting process requires* cell lysis, which artificially skyrockets cfDNA levels by 200–1000%. Never use serum for liquid biopsy.
Specialty Option: Cell-Stabilization Tubes (e.g., Streck BCT). Use these only* if you cannot process the sample within 4 hours. They contain preservatives that stabilize cell membranes for days.
Immediate Post-Draw Handling
* Gently invert the tube 8-10 times to mix the blood with the anticoagulant. Do not shake vigorously. * Label the tube with the exact time of collection—this starts the processing clock. * Keep the tube at room temperature. Do not refrigerate whole blood in EDTA tubes, as cold temperatures can accelerate cellular changes.3. The Clock: The 4-Hour Limit
Once the blood is in an EDTA tube, the clock starts. You have a maximum of 4 hours (ideally <2 hours) to separate the plasma from the cells.
Why 4 Hours?
The cells in your tube are still alive when you draw them. They continue to metabolize, consuming glucose and producing waste. As conditions deteriorate:* 0-2 Hours: Cells are stable. This is the optimal processing window.
* 2-4 Hours: Cellular stress increases. Some fragile cells (especially neutrophils) begin to show membrane instability.
* 4+ Hours: Significant cell death begins. Neutrophils undergo apoptosis and lysis, releasing their genomic DNA into the plasma.
Practical Implementation
* Write the draw time on the tube label in permanent marker. * Train your team to prioritize cfDNA samples for immediate processing. * If same-day processing is impossible, use stabilization tubes from the start.4. The Processing: The "Double-Spin" Technique
Simply spinning the blood once (like you would for a biochem panel) is insufficient. A standard spin leaves platelets and cellular debris floating in the plasma. Platelets contain mitochondrial DNA and can interfere with results. You must perform a Double-Spin Protocol.
Step 1: Low-Speed Spin (Separation)
* Settings: Centrifuge whole blood at 1,500 – 2,000 x g for 10 minutes at room temperature. * Result: This pellets the Red and White Blood Cells at the bottom. You will see a clear separation: red cell layer at bottom, thin white "buffy coat" of WBCs in the middle, and straw-colored plasma on top. Harvesting: Carefully* pipette the plasma supernatant into a clean, labeled tube. Leave at least 0.5 cm of plasma above the buffy coat to avoid disturbing it. Do NOT try to get every last drop—contamination from the cell layer ruins the sample.Step 2: High-Speed Spin (Purification)
* Settings: Centrifuge the harvested plasma at maximum speed (typically >10,000 x g, or "hard spin" on a microcentrifuge) for 10 minutes. * Result: You will often see a tiny, barely visible white pellet form at the bottom. This is the residual debris—platelets, microvesicles, and any cells that escaped the first spin. * Final Harvest: Transfer the top 80-90% of the plasma into your final storage tube (cryovial), deliberately leaving the bottom portion behind to avoid that debris.Common Mistakes to Avoid
* Skipping the second spin: This is the most common error. Single-spun plasma still contains platelets that will lyse during freezing. * Disturbing the buffy coat: If the plasma looks cloudy or has visible particles, you contaminated it. Start over if possible. * Using dirty tubes: Any contamination in your transfer tubes can introduce exogenous DNA.5. Storage and Shipping
Short-Term Storage
If you are testing within a few hours, processed plasma can remain at room temperature. For anything longer:* Freezing: Freeze the plasma at -80°C (ideal) or -20°C (acceptable for short-term).
Aliquoting: The Freeze-Thaw Danger is real. Repeated freezing and thawing shears DNA fragments. If you anticipate needing to run the test twice, split the plasma into two or three separate 0.5 mL cryovials before* the first freeze.
Shipping Protocols
Frozen Plasma:
* Must ship on Dry Ice (at least 2-3 kg for overnight shipping).
* Use insulated containers rated for frozen shipments.
* Ship early in the week (Monday-Wednesday) to avoid weekend delays.
Stabilized Whole Blood (Streck tubes):
* Ship at Room Temperature with insulated packaging.
* Include a room-temperature gel pack as a thermal buffer against extreme temperatures.
* NEVER freeze whole blood—freezing lyses all the cells instantly and completely ruins the sample.
Summary Checklist for Your Team
Post this in your lab area:
1. ☐ Fast patient 4-6 hours if possible
2. ☐ EDTA Tube (Purple top) – NEVER red top
3. ☐ Record draw time on tube label
4. ☐ Process within 2-4 hours
5. ☐ Double Spin (low speed, then high speed)
6. ☐ Check for hemolysis – Pink plasma = Reject
7. ☐ Aliquot before freezing if repeat testing may be needed
8. ☐ Ship correctly – Frozen plasma on dry ice, Streck tubes at room temp
Adhering to this SOP is the difference between a diagnostic breakthrough and a costly, confusing lab error. When in doubt, reject the sample and redraw. A failed test is the most expensive test of all.